Showing posts with label DIY. Show all posts

Wednesday, July 31, 2013

DIY T-Shirt Upcycle


One time I bought the wrong kind of shirt for an iron on and then had a shirt that was 'useless'. Until now!

 photo DIYPaintShirt_zps4846ee2e.jpg

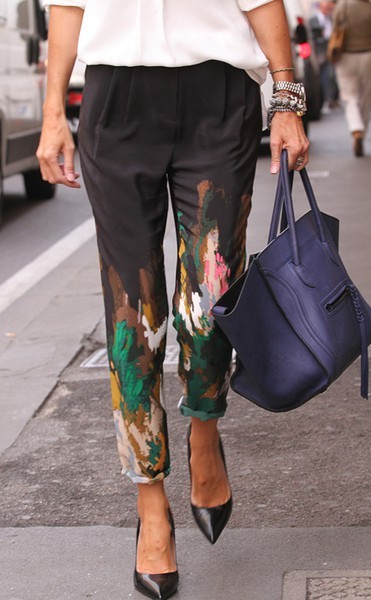
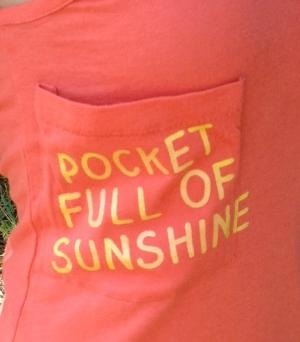
Inspired by the world of Pinterest

(source)

(source)

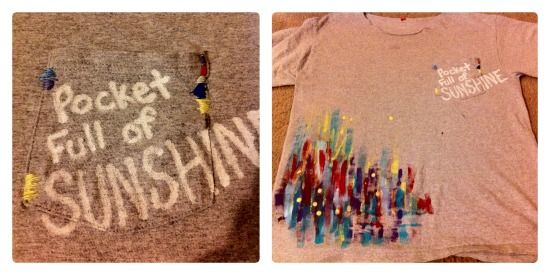
First, I used a white opaque paint pen (available at your local craft store or Walmart). Then, I used a regular needle and thread to embroider around the pocket of the shirt. I used lots of different colors because that seems more appropriate for my own little Pocket Full of Sunshine.

Then I used 3 different sizes of paint brush and multiple bottles of acrylic paint to do a random, layered design at the bottom corner to balance out the pocket. I sort of drippled the yellow on to finish it off. Easy peasy!

Also noteworthy: I washed the shirt on the gentle cycle before I wore it and I didn't use any type of setting agent.
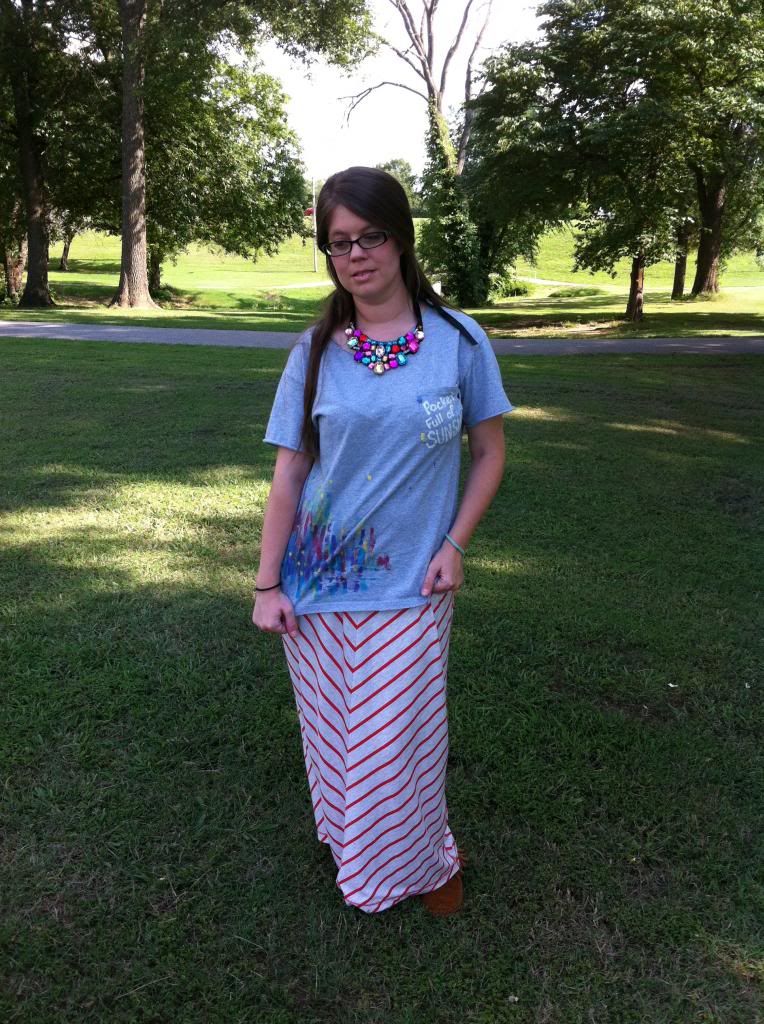
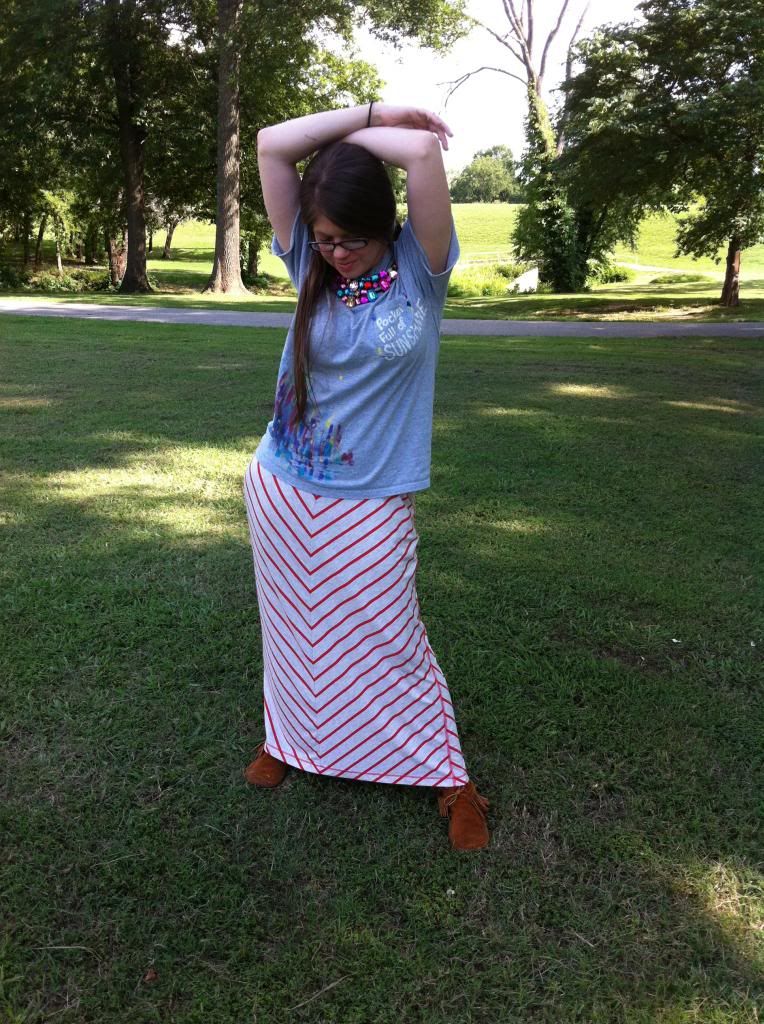
 photo 014_zpsd1797d80.jpg

 photo 018_zps69456333.jpg
Outfit Details
Shirt: DIY
Skirt: Walmart 2013
Moccasins: Gifted
Necklace: eBay (for less than $10) You can find one similar by clicking the link.
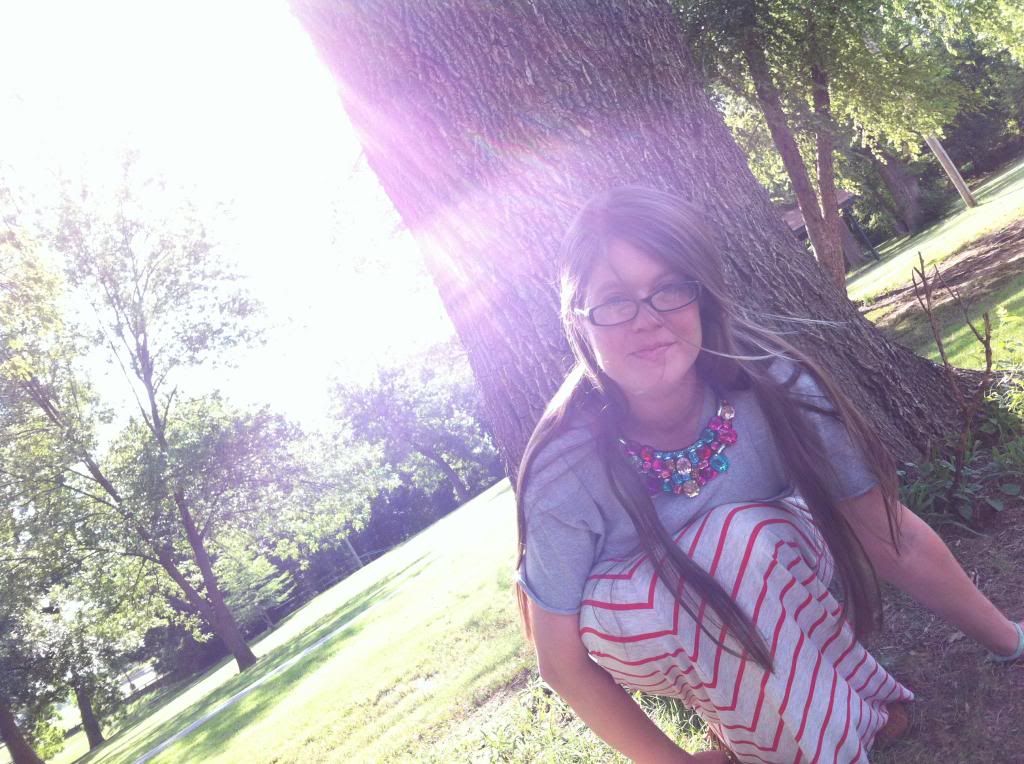
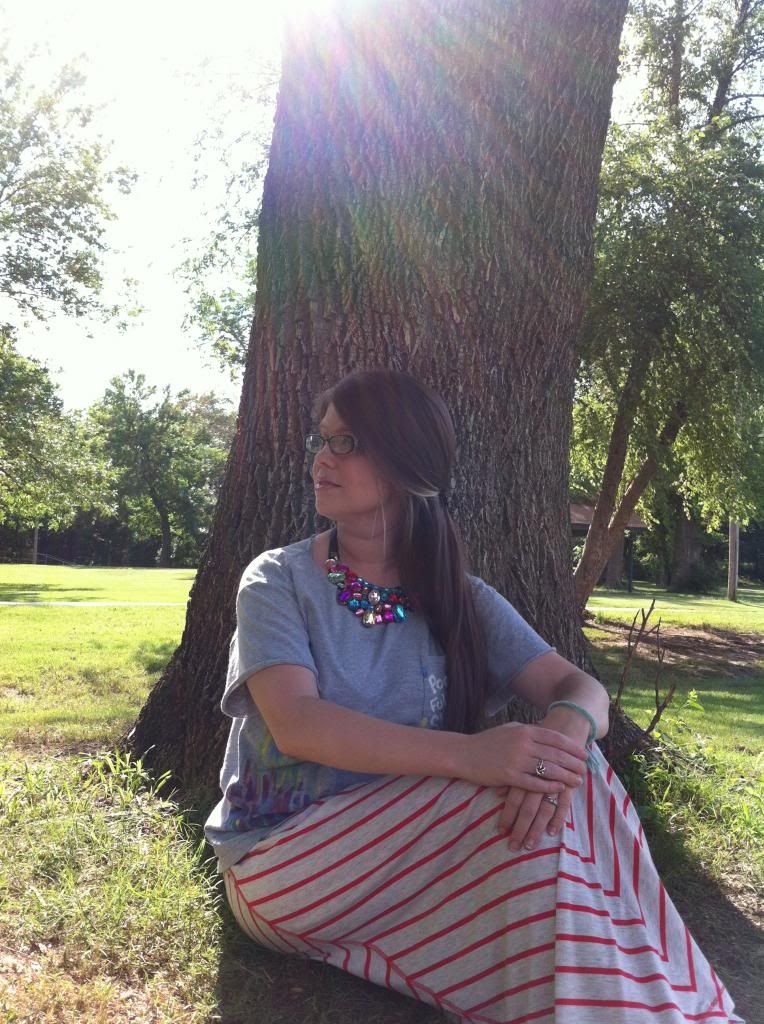
 photo 023_zps34bf2888.jpg


 photo 028_zpsa50ab1da.jpg

 photo c1ad0cf9-7fc4-4107-b09e-73c76b4108f3_zpsaa39b85c.jpg

"In the same way, let your light shine before others, that they may see your good deeds and glorify your Father in heaven." Matthew 5:16

Get Your Fashion On, Jana Faith

Friday, July 12, 2013

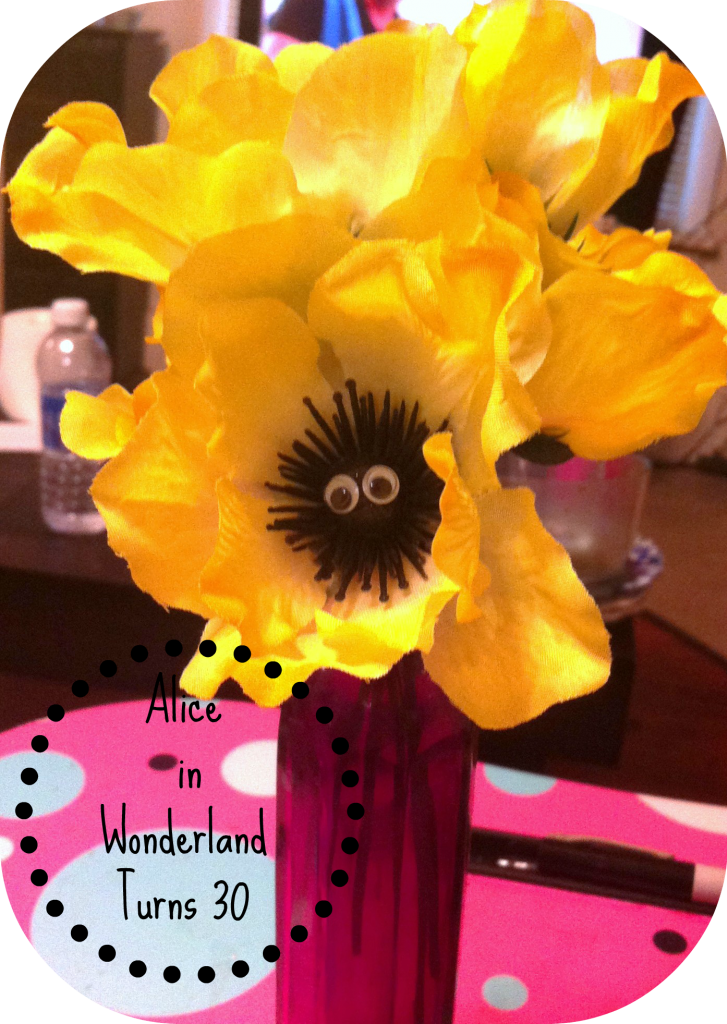
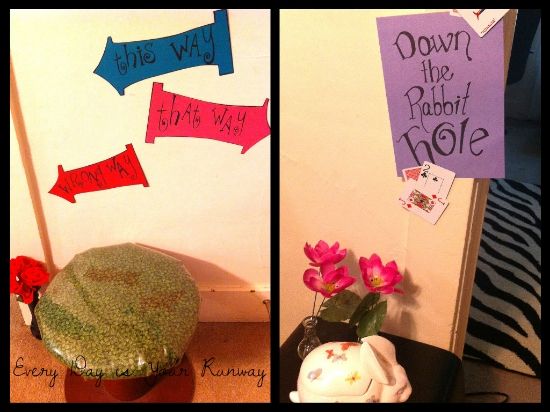
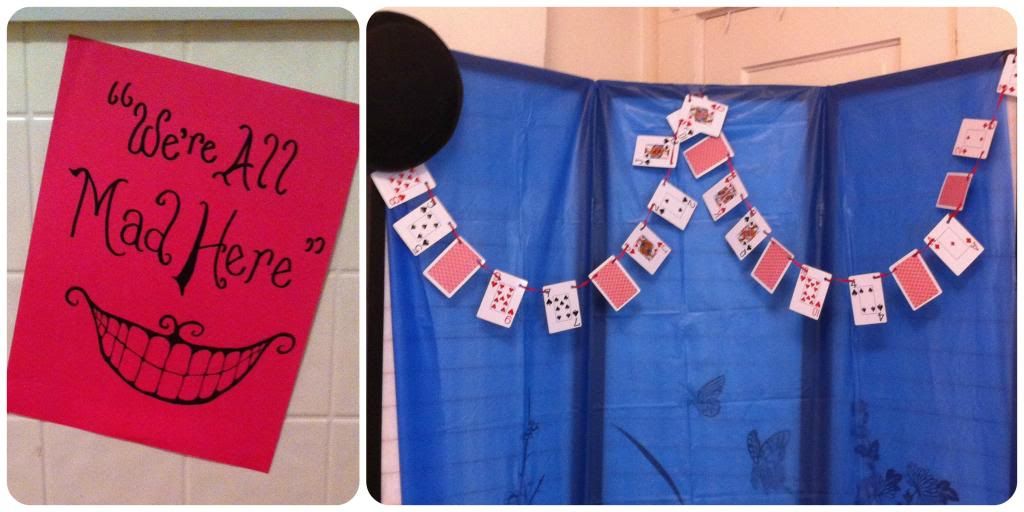
30, Flirty, and Thriving .... DIY Alice in Wonderland Birthday Party


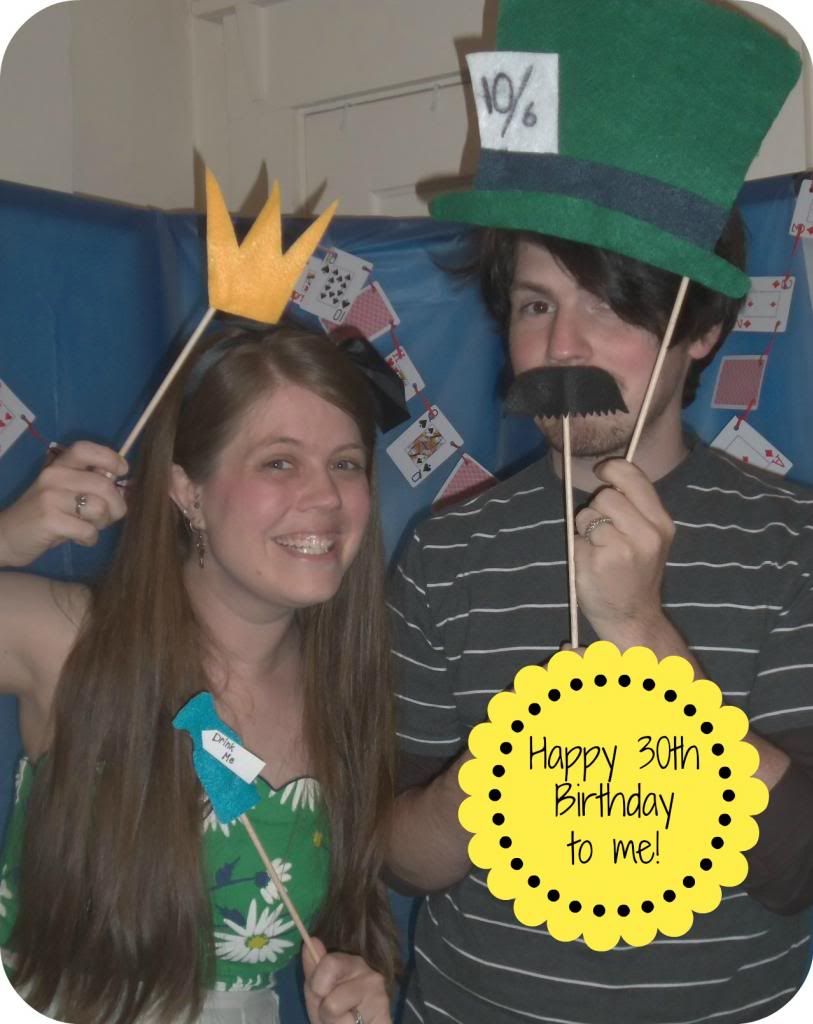
It's official... I'm the big 3-0 and I threw myself a birthday party (of course, my husband helped!) It was Alice in Wonderland themed and full of DIY goodness. (Anyone else love 13 Going on 30? Anyone? Bueller?... Obviously the flirty part is strictly husband-related...)

 photo ce8ac77b-6bc3-4dec-8eeb-793732e0bbf5_zps68929b64.jpg
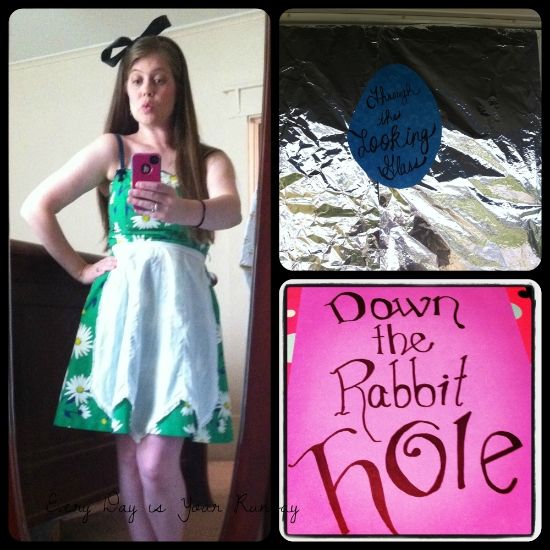
This outfit is my 'loose interpretation' of Alice- aka: I couldn't find a blue dress I liked to suffice and this vintage dress is amaaaaaazing. My cute little apron came from a local antique store.

 photo PinnableAliceImage_zps54221601.png

Both Joe and I are artistically inclined people so a DIY birthday was easy peasy (minus the fact I'm a procrastinator extraordinaire...)  Most of this was Pinterest inspired and if you're interested, I have a board dedicated to this party.

 photo dd29d08a-56d3-4692-ab61-c35b67431dbf_zps44866d46.jpg

 photo AliceInWonderland3_zps38ff13ef.png


We made sugar cookies with a set of cookie cutters Joe bought on Amazon. I had this idea to use a baggie and squeeze icing out of the corner....then the icing busted and I was DONE. Ain't nobody got time fo' dat!


 photo AliceInWonderland4_zps1be45f14.jpg

We made and tied on little 'Drink Me" tags for each bottle of soda. I meant to make 'Eat Me" labels but whatever... procrastination, amiright?!

 photo AliceInWonderland5_zpsaca71471.jpg

  photo 126_zps7586f6b5.jpg
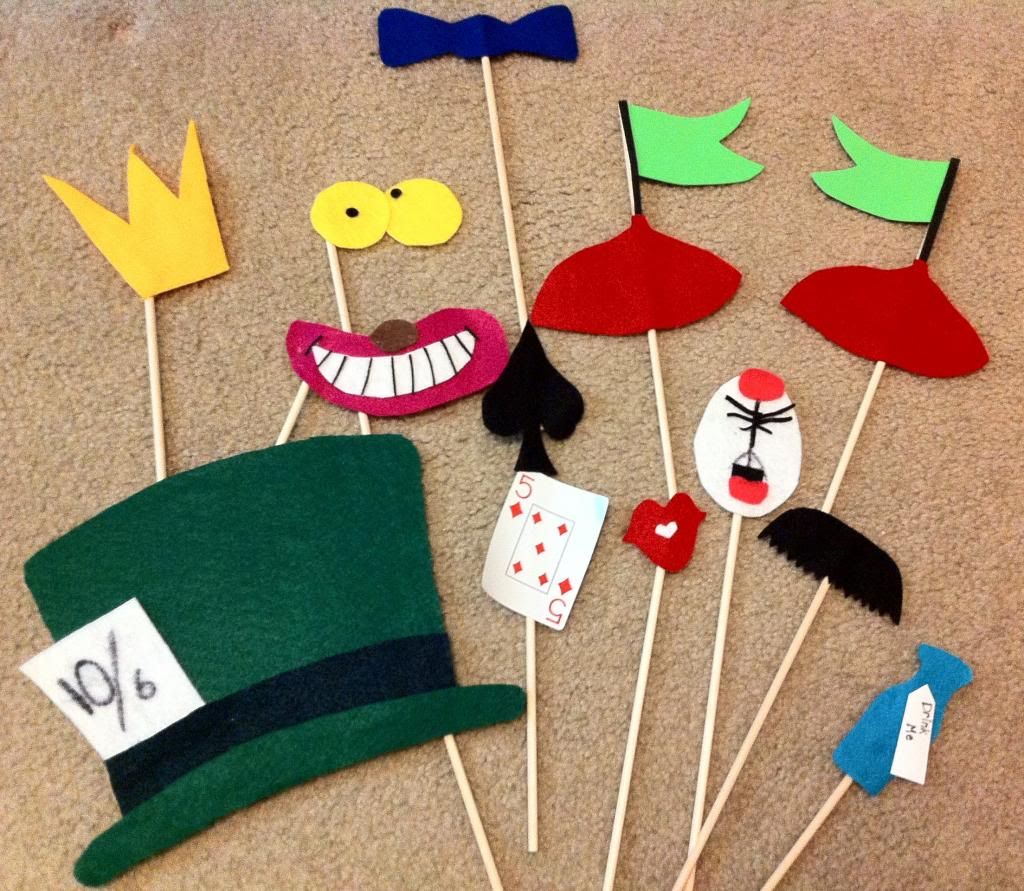
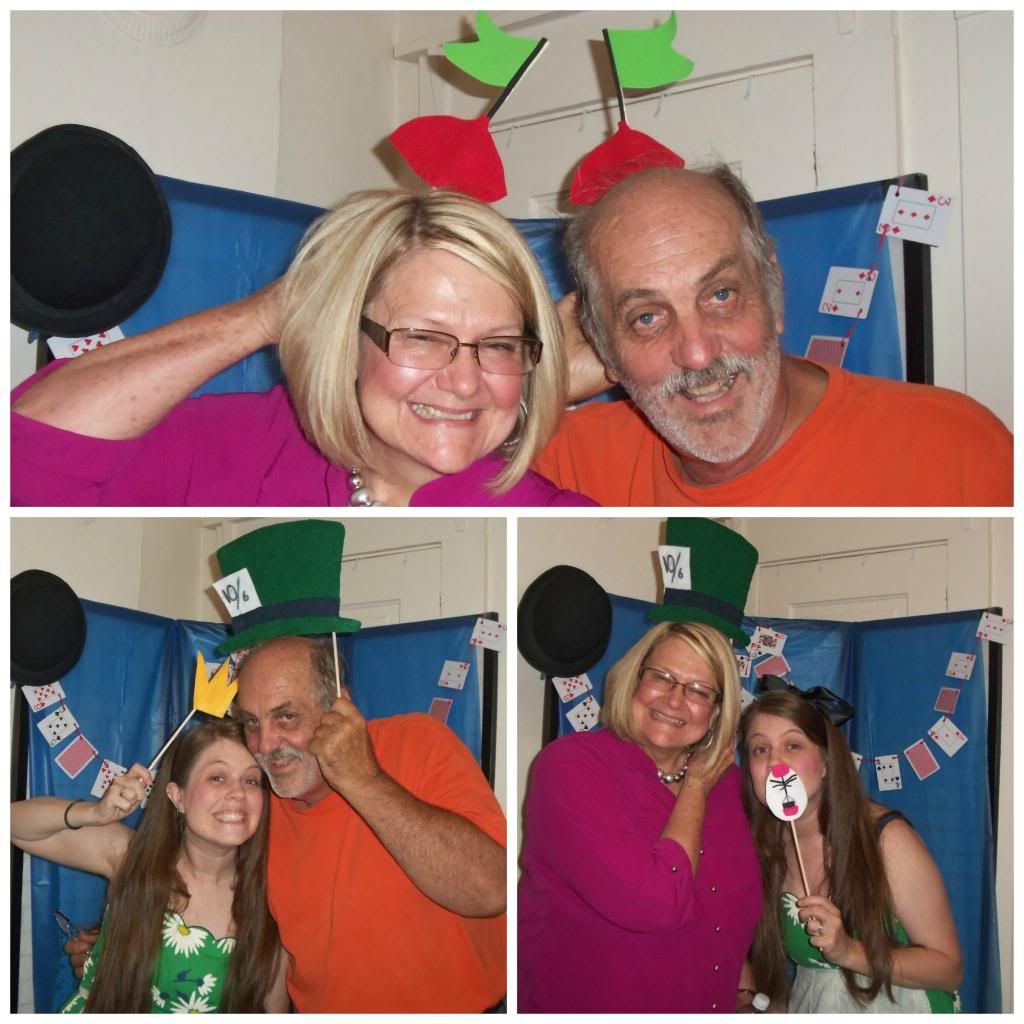
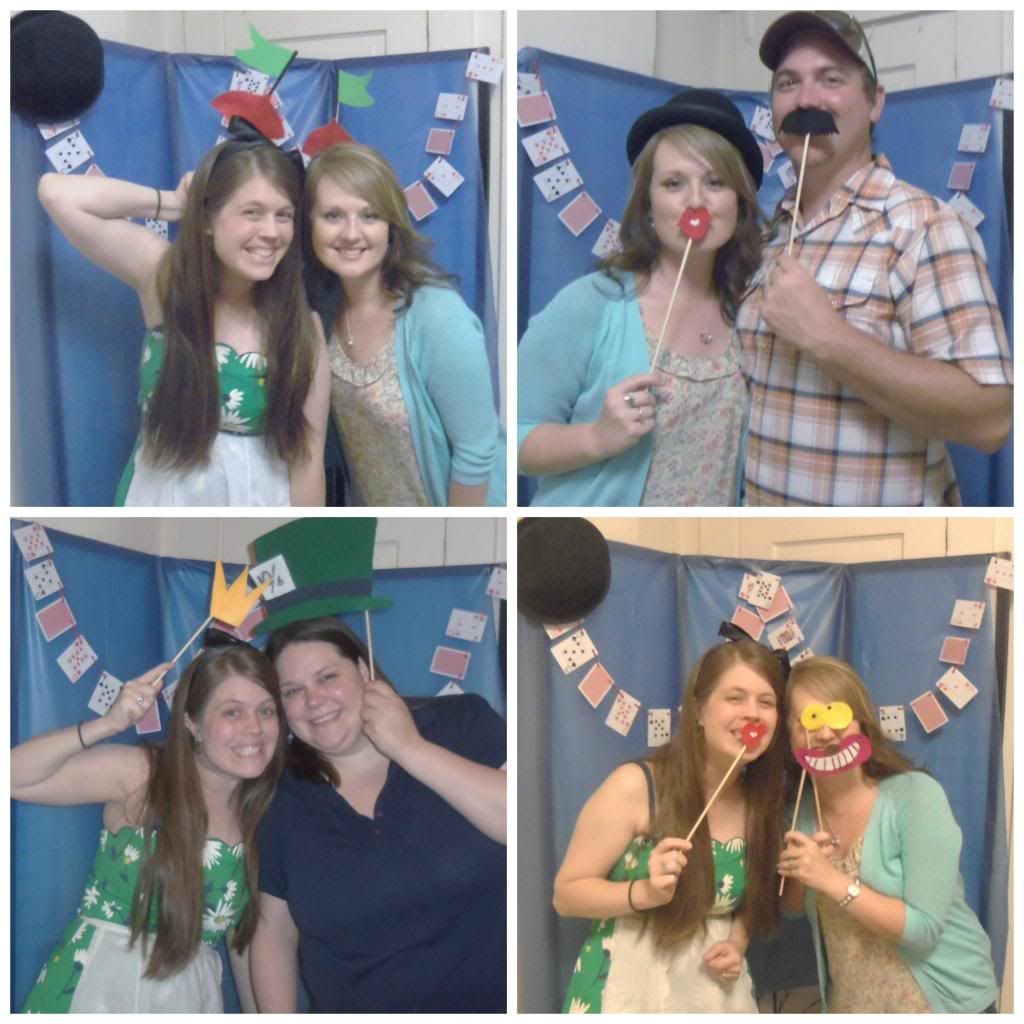
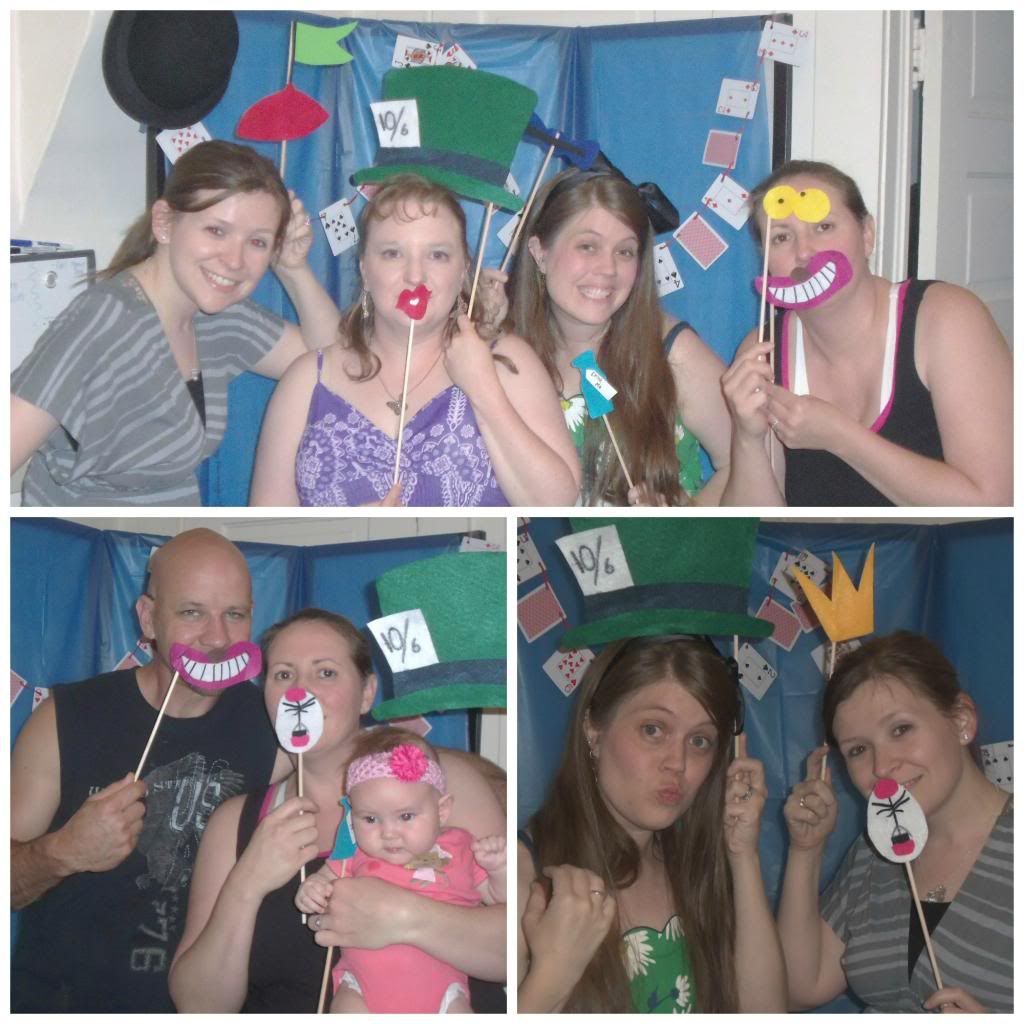
We used felt, dowel rods, E 600 glue, and hot glue to make the props for our photo booth and below you'll see the outtakes from our photo booth.

 photo AliceInWonderland6_zps0c4d4e21.jpg
(my fantastically awesome parents)

 photo AliceInWonderland8_zps01d0d80c.jpg
(Best friends since 1991 ish)


 photo AliceInWonderland7_zpse3774b93.jpg
(Teacher/Work friends since 2006)

 photo AliceInWonderland9_zps246c11e3.jpg
None of this fun would have been possible without this fabulous guy. Thanks for making it possible. You're the best!

I had the original Alice in Wonderland playing on our tv while I chatted with guests. Most Alice themed games I found were alcohol related and since I don't drink...we didn't play those games. Had I not waited until the last minute, we would have played a game where each person got a name tag and wrote their name backward. Each time someone called them by their given name instead of their Wonderland name (backwards) the person  would have to take a card and the player with the least amount of cards at the end of the night would win.

I had so much fun and was reminded of how wonderful my friends are. I'm thankful to have such awesome friendships. If you have an Alice themed party... feel free to use any ideas you see.

 (p.s. I'm still not sure I'm used to saying 30... I don't feeeeel 30. Do I look 30? Meh, who cares.)
Get Your Fashion On, Jana Faith

Tuesday, March 19, 2013

How to fix your thrifted shoes...


I get it. Some people think thrifted shoes are gross. I do not. So... this may not be your thing.

 Nerves have taken over. What am I wearing at BlissDom?! Suddenly... my clothes suck. I'm stressed. I'm going thrifting.

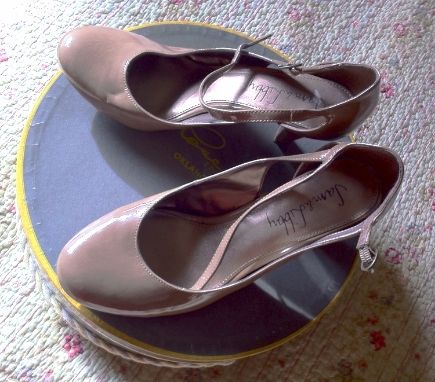
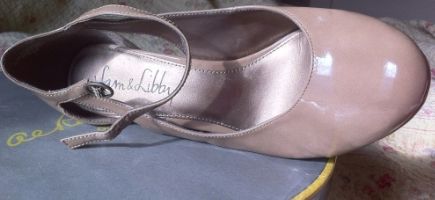
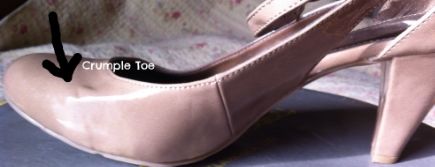
I found some really cute nude heels that are perfect for all seasons, depending on how I style them. While walking around the store, I noticed they were a little crumpled on one foot. (Probably because Goodwill puts a rubberband around their shoes to keep pairs together.) Hardly noticeable while being worn...

As I'm checking out, I mention something to the sales clerk and she said, "Oh you could probably get the hair dryer after them and fix it easily. Just put some newspaper or a sock in the toe." What?! Okay, I've seen things like this on Pinterest multiple times but I never gave it much thought.

Onward and upward....
 photo 55b2437b-4297-4387-9619-90896356c435_zpse6e04084.jpg

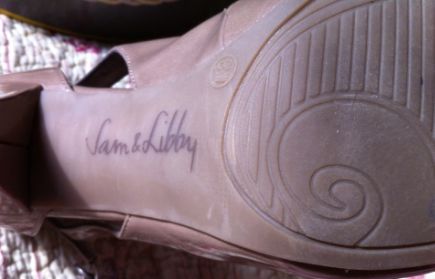
Proof of how unworn they are:
 photo b0678917-d6e8-420f-add4-65416bf81acc_zps2bdc0ebb.jpg

  photo 9509c34d-57fd-475e-90ed-a3f9dd16a767_zpsf880dbc0.jpg

  photo 7426f1d0-4157-4fe5-b147-5a84634350ab_zps8a9d7c03.jpg


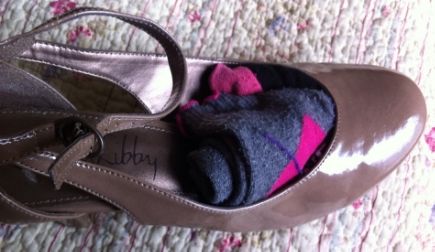
First I rolled up three socks: two regular sized and one knee-high. I shoved those puppies down in there...
  photo a1f642ee-8a58-43ea-a320-a4458554ced7_zpsda6ff431.jpg

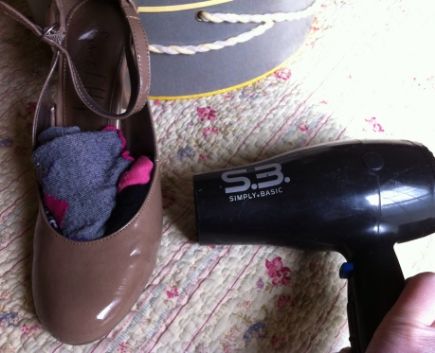
Get out your hair dryer and shoot it at the crumpled area until it starts relaxing.
 photo 43d6701d-8505-4442-84ac-745537bcbd71_zps52a0e973.jpg

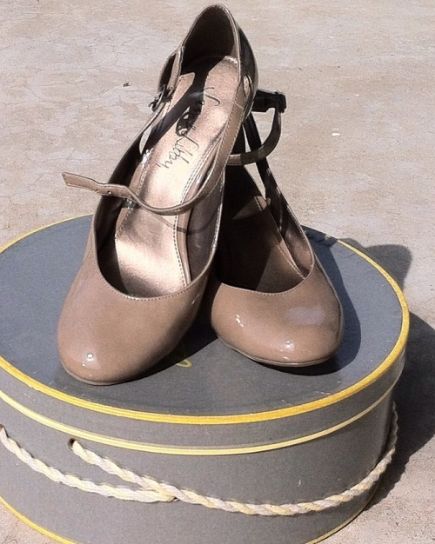
Finished product...
  photo 8965bd25-db0e-4298-9c75-ab5e20a4d883_zpsb41687ba.jpg

The only thing that is not my favorite about this is it stretched out the toe box for that shoe a bit. Now my right foot has room to grow. Other than that, It's pretty fantastic and I don't think it will be a major problem.

Also noteworthy- similar shoes are selling on eBay between $20-$30. I got mine for $5. You know I love a good bargain! 

Are you going to try this sometime? What do you think? Can't even tell... except I already told you the secret. *Shhhhh*
Get Your Fashion On, Jana Faith

Wednesday, August 8, 2012

Love Gifts

Perhaps the title is misleading... what I mean is... Gifts made with Love...

My husband and I celebrated our one year anniversary July 9th. Tradition indicates the gift for one year of marriage is paper. I joked with my husband and said, "Yeah, it's paper because newlyweds are POOR!" We both had a giggle at my cleverness. Seriously, we're not poor. I'm just silly.

We decided to make our gifts for each other since we're both kind artsy fartsy. Plus, my teacher friend, let's call her "Snowball", and her husband also follow the traditional list and inspired me to copy. Yes, I'm a copy cat. Haven't your heard? Teachers are awesome at begging, borrowing, and stealing? 

Without further adieu... here's what we made
1 year anniversary - paper

 I was inspired by this tutorial I'd pinned on Pinterest.


As you can see, Joe is more original than I am.
 Paper Anniversary 
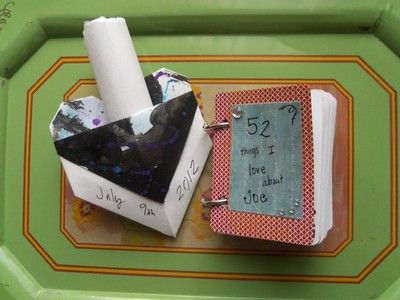
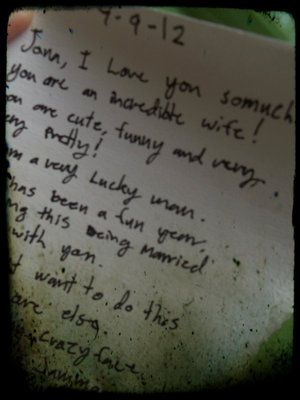
He painted a pretty design on paper, folded an origami heart envelope and wrote me a lovely letter.

Isn't love lovely?
~Get your fashion on~
Photobucket

Saturday, August 4, 2012

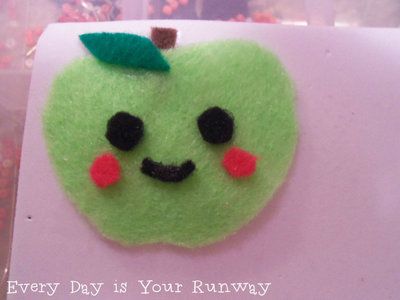
Apple for the teacher - DIY

I'm a sucker for all things apple - aka all things teacher. Silly thing is... I'm not a real big fan of eating apples but I sure think they're cute. Super kawaii - means super cute in Japanese!

Recently, I saw another blogger wearing a cute apple pin. I began my search in thrift stores and realized, "Hey, I'm crafty. I'll make one!" And thus, the following tutorial.

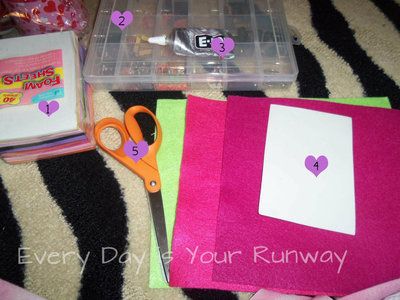
AppleBroochSupplies
  1. Foam Sheets - purchased at the Dollar Tree
  2. Craft box - with pin backs  - you can get some here
  3. E 600 Glue - it's amazing - get it here
  4. Multi colored felt - I got mine in the craft section of Wal-Mart
  5. Fabric Scissors

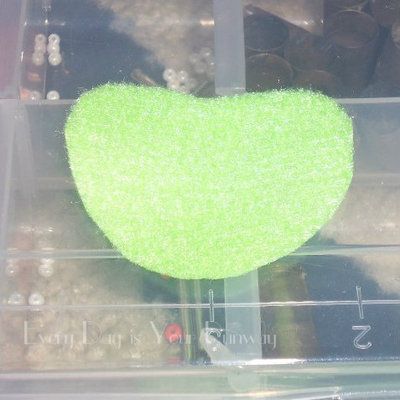
    First, I googled "cute apple". I already had an idea in my mind - sorta but I needed some inspiration. So - that being said, I cut out the following shape.
  6. 002-11 
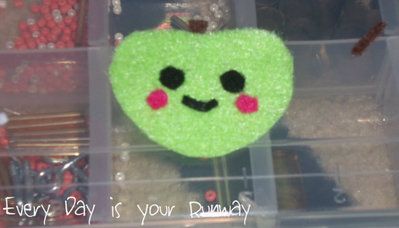
    I knew I wanted my apple to have a face. So I cut tiny black circles for eyes and a thin curve of black felt for a smile. I cut tiny pink circles for rosy cheeks, cause fruits have faces, doncha know? Lastly, I cut out a brown stem. That's what our first grade teachers taught us is right. ;o)
    003-14
    Something about his shape is wonky... he needs a little fixin'.
    004-15
     
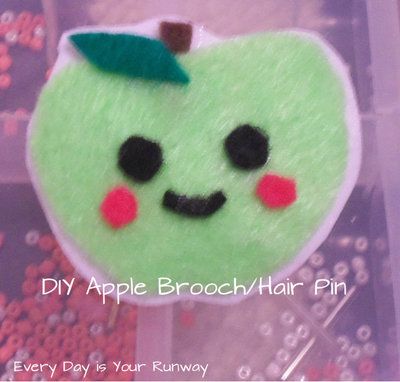
    Add an "apple bottom" divot and a leaf. Glue this little cutie to some white craft foam to stabilize.

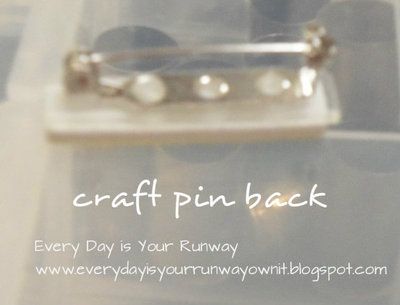
    Glue your pin back
    005-15
     wah-lah! ta-da! twinkle! and other sparkle-tastic sounds!
    006-17

    Isn't he so stinkin' cute?! I pretty much love it... I can wear it on my teachery cardigans. I can attach it to to a headband. I can also wear it as a hair accessory like this cool lady did!

    What do you think? 
     Get yo' CRAFTY fashion on!
    Photobucket 
     Linking up at the wonderful Classy Clutter for Spotlight Saturday this week too. If you've never checked them out, you really should. They've got GREAT ideas and they're DIYers. 

    Wednesday, July 18, 2012

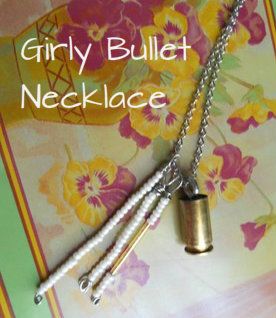
    Bullet Necklace Tutorial


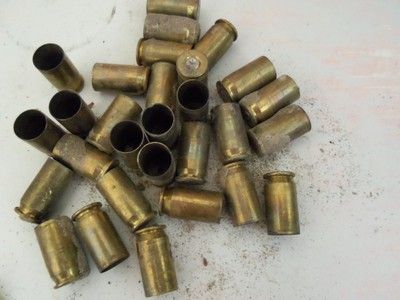
    I've been playing with the idea of a bullet necklace for a while. My brother in law had some really pretty bullets. (what a weird word contrast: pretty & bullets) I told him about my idea and he humored me pretty well and even offered to give me a few of his bullets for my project. I refused because I knew he intended to refill them to use again. Or something like that. Anyway, a couple weeks later my husband brought home a plastic bag full of this....

    Photobucket

    First I washed these

    Then I used some beading wire to make little strands of beads. I used my needle nose pliers and my wire cutters to do this section.
    Photobucket

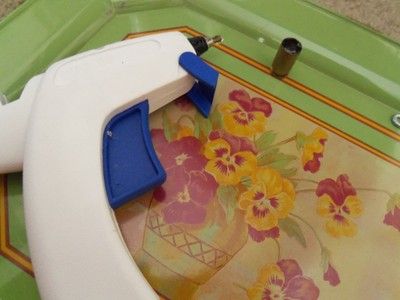
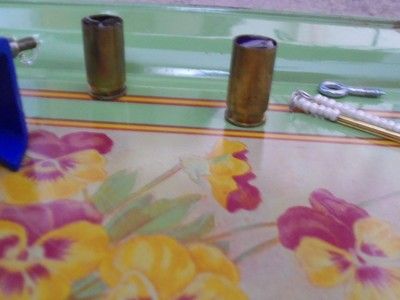
    I used my trusty glue gun to fill the bullet casing with hot glue.
    Photobucket

     Photobucket

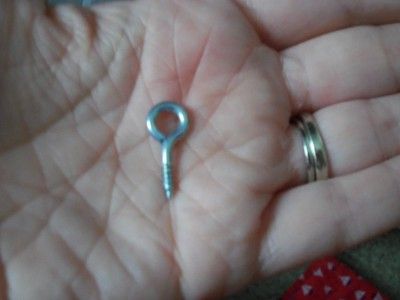
    Then I screwed this into the center of the hot glued bullet.
    Photobucket

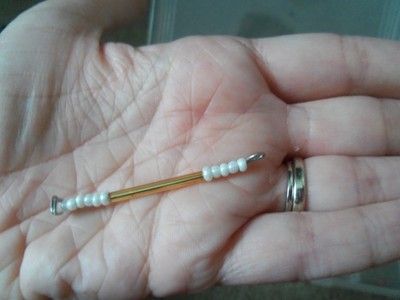
    The finished product was strung onto a necklace.
     015-8
    I put the beads with the bullet to keep it from looking too masculine. 

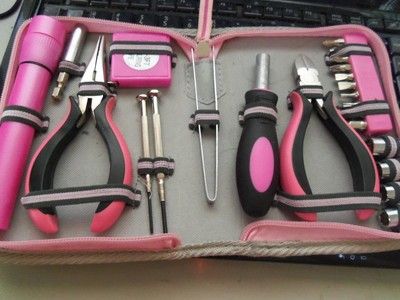
     This is my trusty, girly tool kit. It was a great investment at $10.
     Photobucket
    You can buy something similar here.

    Let me know what you think!

    Get your fashion on
    Photobucket

    Friday, May 25, 2012

    Memorial Day DIY

    Hooray for the red, white, & blue! I am a fan of America and thankful for the men & women who protect it. 

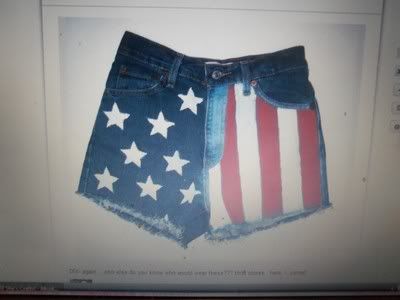
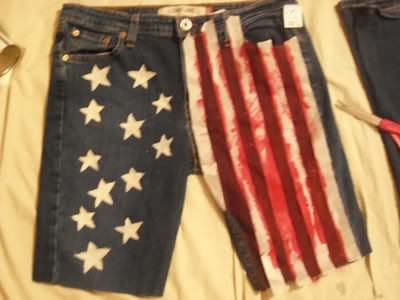
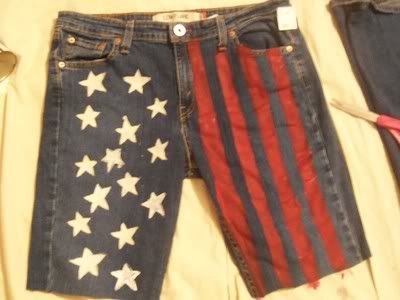
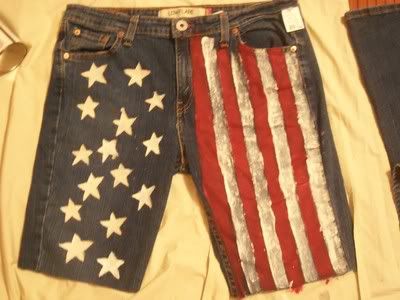
    But when it comes to "fashionable" patriotic clothing...I've always struggled with that color combo. Thanks to Pinterest, I was inspired by this photo - - - (sweet etsy lady is charging $35 for these shorts.... I'm a little more frugal.... a.k.a "cheap")
    Photobucket

    So here's my longer, more Jana-friendly version step by step. Enjoy!

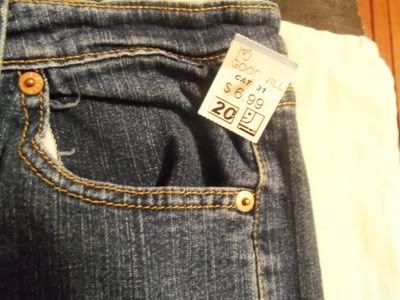
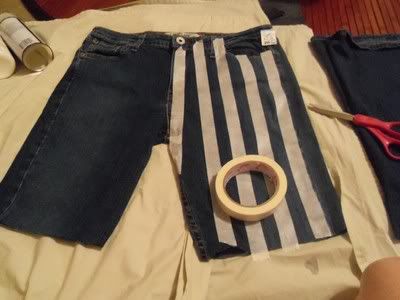
    1. Start with some thrifted jeans. Bet you could find some even cheaper. 
     Photobucket

    2. I used cheapo masking tape from probably Dollar Tree. I taped off a vertical section to make the red stripes. 
    Photobucket

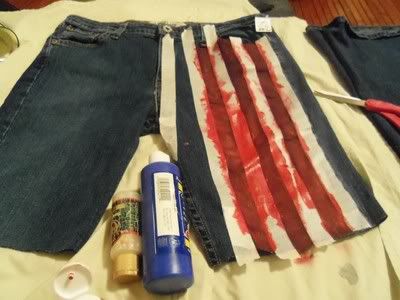
    3. Paint red stripes. I ended up having to paint a few layers to make it show up properly. 
    Photobucket

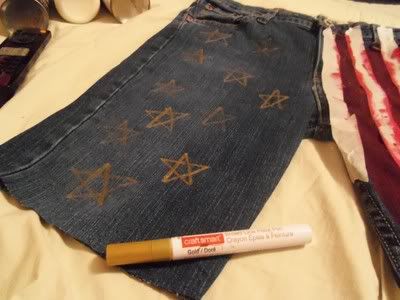
    4. I free handed some gold stars with my gold paint pen. If you're uncomfortable with your star drawing ability, you can always make a template for a star to trace. 
     Photobucket

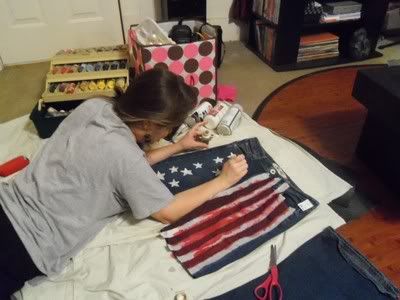
    5. Paint with white inside the gold outlines and kinda cover those up as you go along... and here's some proof I'm doing this myself. :o) 
      Photobucket

    6. Let it dry...
     Photobucket

    7. Take the paint off once it's dry. I think I'm going to let these sit a day. I'm probably going to go back and do some "distressing" on them with my cheese grater. (Who knew you could use it for that?!) I might also go back and paint in between the red stripes with white. 

    Photobucket


    Edit: 8. I decided to go ahead and paint the white stripes. My paint is splotchy so I'm going to do a couple more layers. Heads up, the more layers you make, the more stiff your pants become.

    Photobucket

    I'm pretty excited about wearing these. I plan to wear them out and about. The big "debut" will be on Memorial Day at my family reunion. I debated with myself about making these because I was a little worried I might offend someone...but please know, that's not my heart. I hope you enjoy and have a delightful holiday weekend. Thanks so much for reading. I absolutely love having friends who are readers, new readers, getting comment, and seeing that little ticker move up. Such a fun hobby this is!


    Have fun and as always,
    Get your fashion on
    <3 Jana Faith <3

    Thanks a million for letting me link up through your blog


    Related Posts Plugin for WordPress, Blogger...
     
    Blog Design by Freeborboleta Designs. Powered by Blogger.